“Our Comprehensive Services for Full Arch Cases”
“To ensure top-tier technical support, we have established a specific protocol that outlines the necessary steps for optimal communication and outstanding outcomes.”
- SMILE DESIGN
- DIAGNOSTIC DIGITAL WAX UP
- IMMEDIATE IN SURGERY CONVERSION
- DIAGNOSTIC WAX UP-CONVERTED TO A GALLUCCI GUIDE
- TEMPORARY MILLED REINFORCED PMMA TRY-IN
- FINAL BRIDGE DESIGN
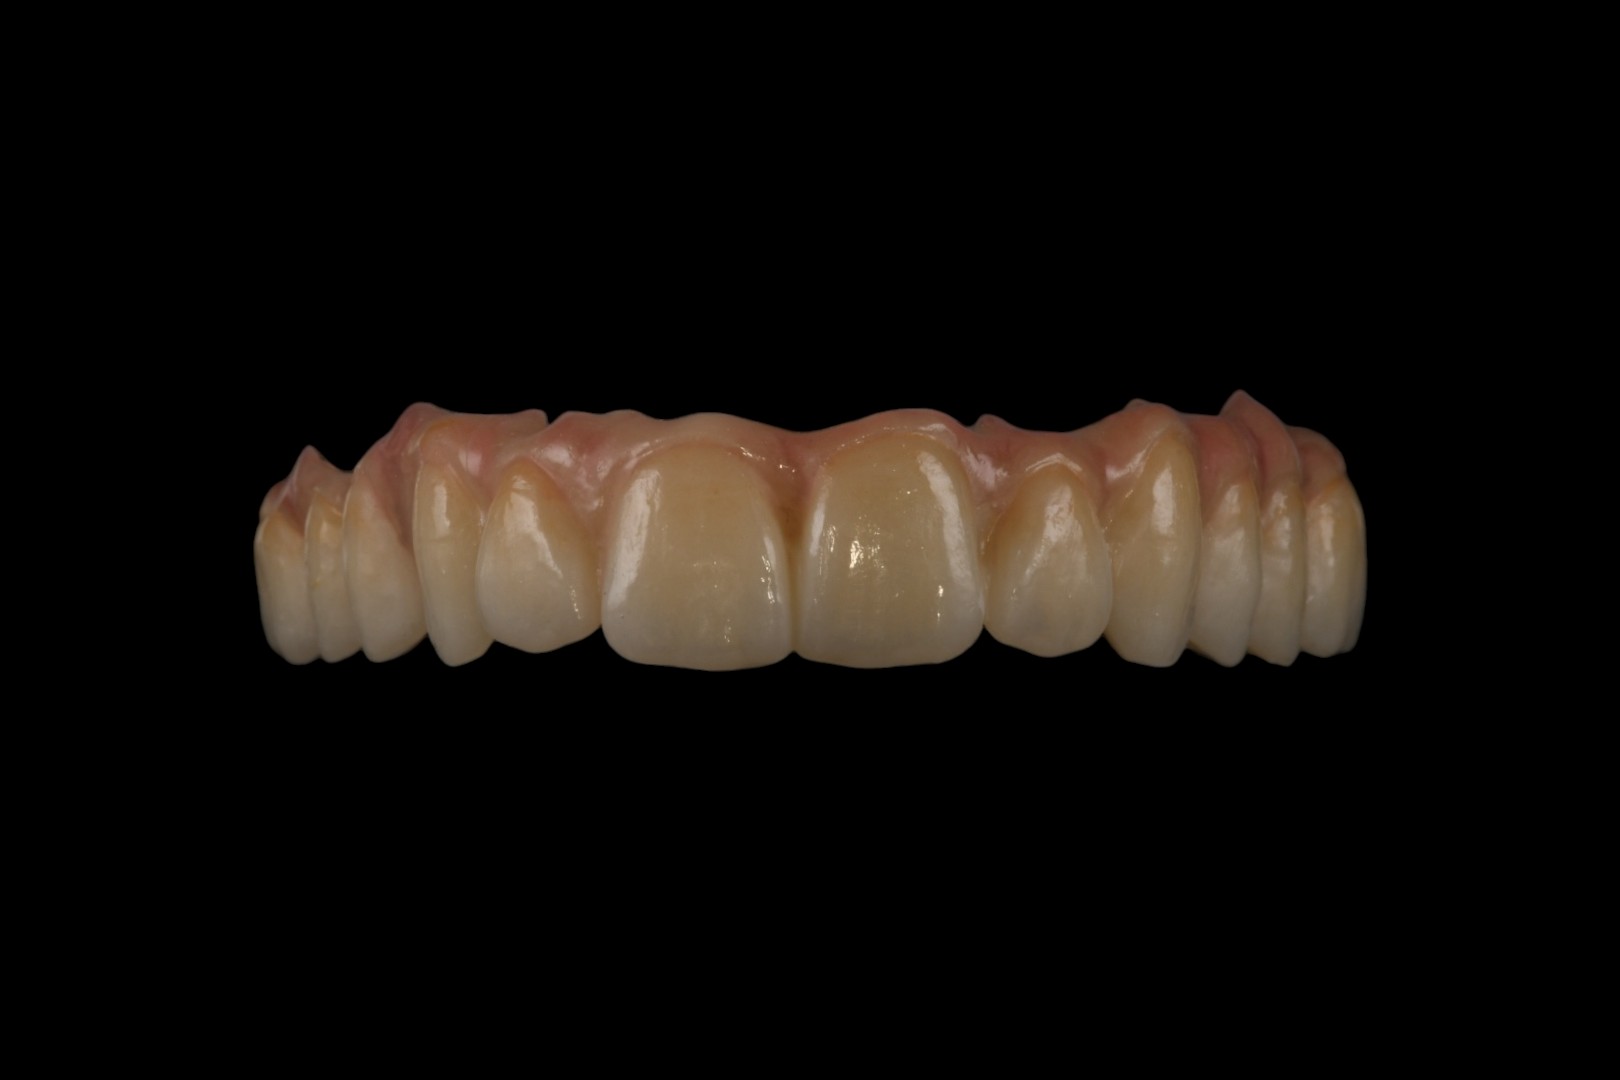
- FULL ARCH ZIRCONIA
- BRIDGE BASE TITANIUM FRAME WITH PMMA SLEEVE OR ZIRCONIA SLEEVE
- THIMBLE BRIDGE WITH SINGLE CROWNS ON TITANIUM FRAME
Patient’s First Consultation Appointment Record for Planning Full-Arch Implant Retained Restorations
1. Patients Without Dentures
- CBCT in IP (Intercuspal Position)
- Intra-Oral Scans:
- Intra-oral scan of the upper arch
- Intra-oral scan of the lower arch
- Intra-oral scan of bite in ICP (Intercuspal Position)
- Important Note: The opposing arch scan is essential for single arch cases.
2. Patients With Dentures
Always remind patients to bring their dentures with them (if they are not wearing them) to the clinical assessment.
- Step 1: If the denture is ill-fitting, it is recommended to reline it in the optimum position before proceeding with the following steps:
- Intra-Oral Scans:
- Take an intra-oral bite scan with the denture in the patient’s mouth.
- Take an intra-oral scan of the opposing arch.
- Preparing the Denture for CBCT:
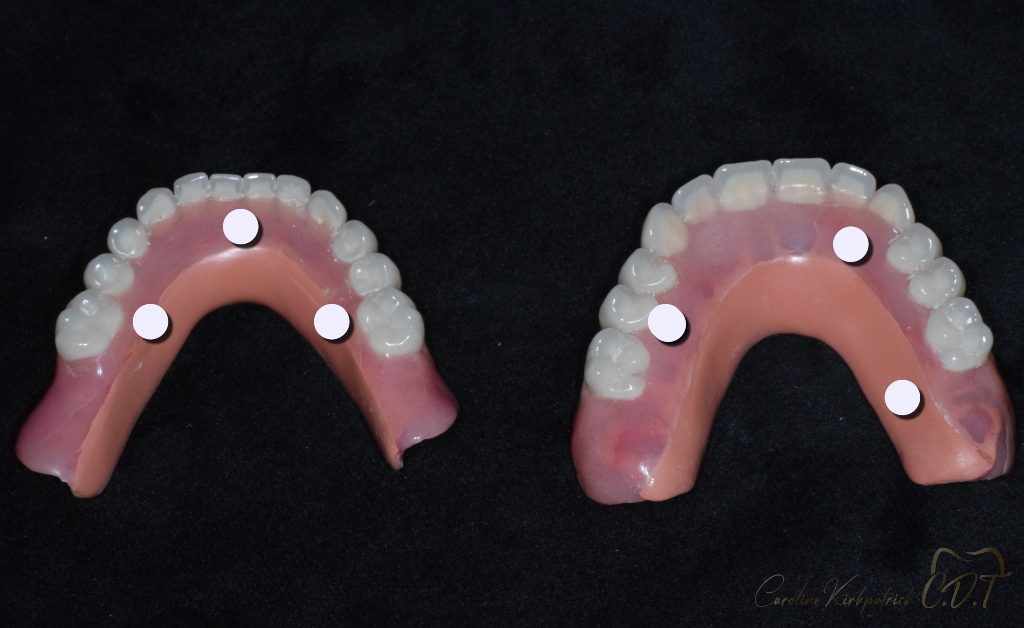
- Remove the denture and ensure it is completely dry before attaching radio-opaque scan markers.
- Place a minimum of 6 markers (do not exceed 8). Refer to the images below for examples of marker positioning.
- CBCT Scans:
- Take a CBCT scan with the dentures in the patient’s mouth (with the markers/beads on).
- Intra-Oral Denture Scan:
- Remove the denture (without removing the markers) and scan the denture with an intra-oral scanner outside the patient’s mouth.
Important Note: Do not disinfect the denture until it has been scanned, as moisture may cause the markers to fall off.
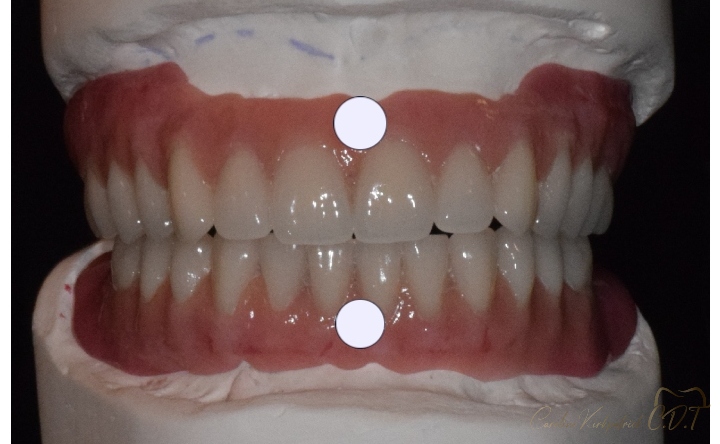
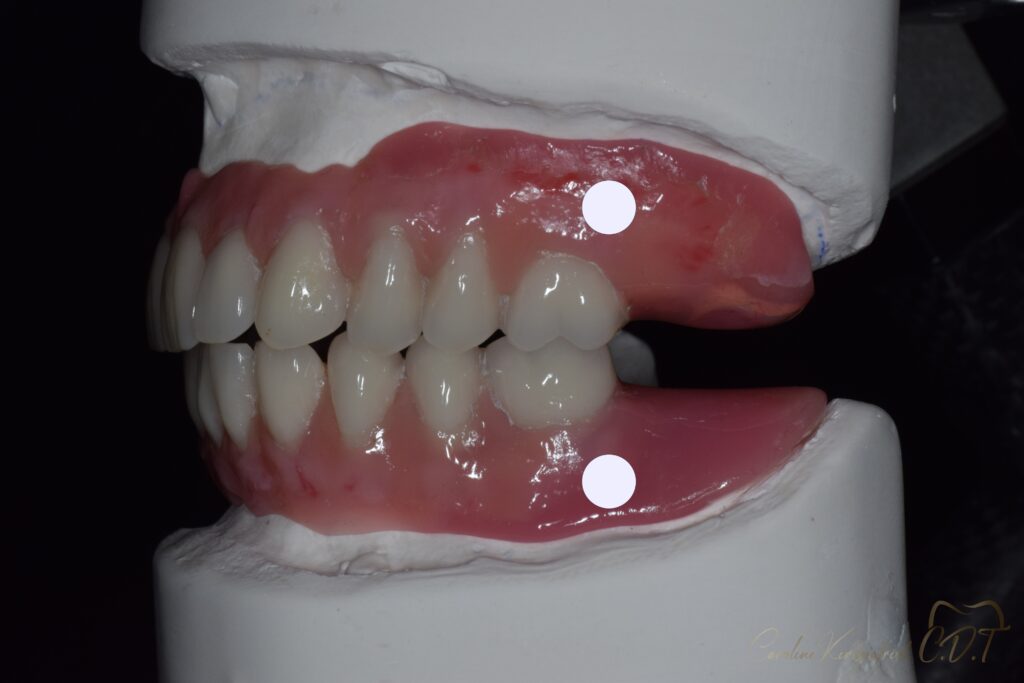
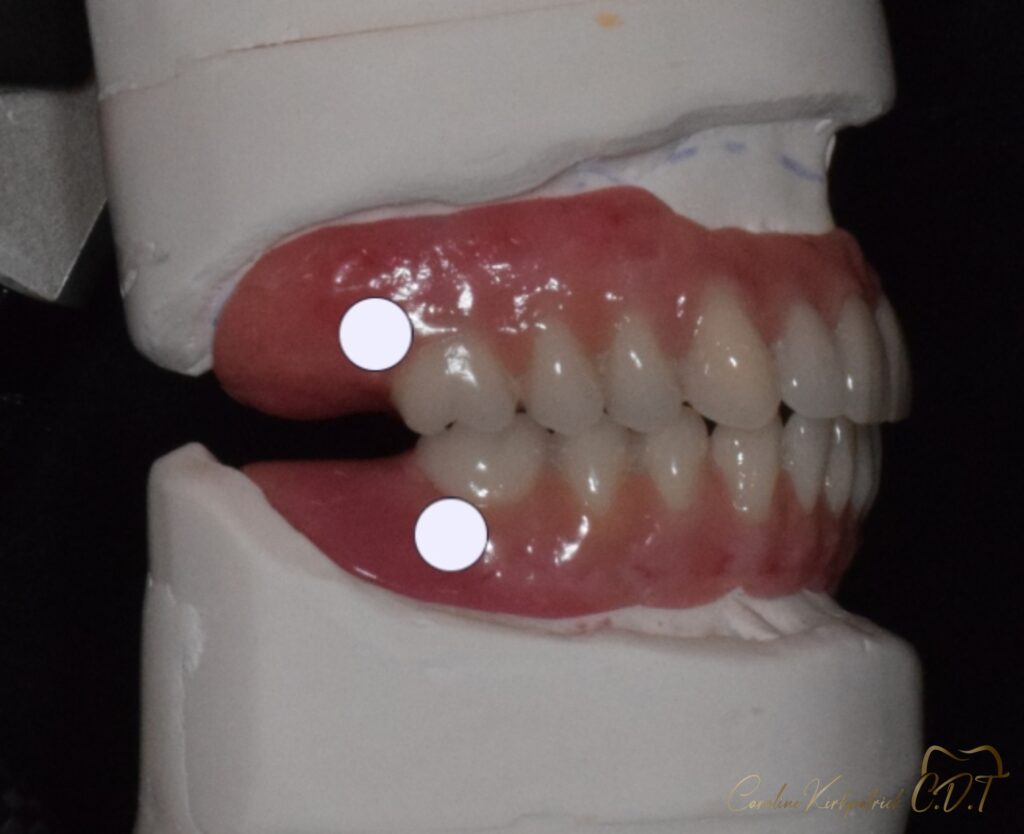
Patient photos
Frontal view / full smile
Frontal view / retracted
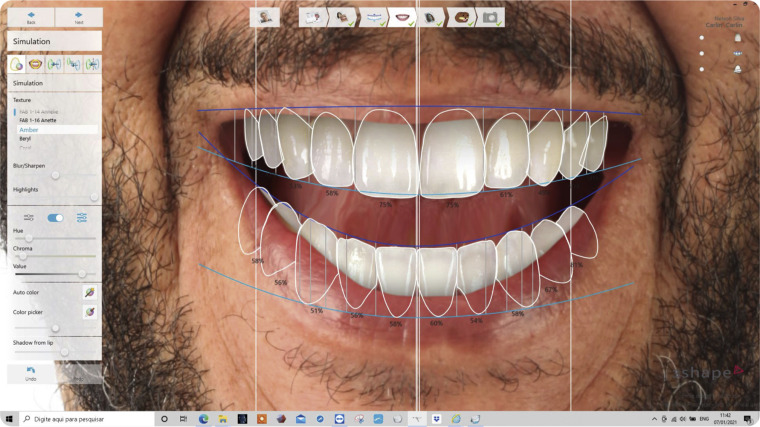
“Utilizing smile design is a valuable method for determining whether a case qualifies as FP1 or FP3 through a facially driven planning approach to evaluate the optimal tooth position in the context of the face. You have the option to perform this using 3Shape software or Smilecloud. Alternatively, we can assist you by providing a basic 2D design to facilitate the initial assessment. To ensure accurate evaluation, we require a minimum of high-resolution, full head frontal view photographs and full-smile images.”
The Stages.
- Inter-pupillary line to give the horizontal plane
- Drop a perpendicular line to determine the midline
- Determine the smile curve
- Place the central incisors
- Pace the rest of the teeth in the smile curve
- Assess the soft tissue contours in relation to the tooth position
- Make a diagnostic Wax up based on the facially driven plan
